Showing posts with label Recipes. Show all posts

Monday, October 17, 2011

Pulled Pork - Freezer Cooking Recipe

Ingredients:

large pork butt or shoulder
2 liters of 7 Up
barbecue sauce of choice
buns

Place pork in crock pot or roaster on high for 4-6 hours. Pour 2 liter of 7 Up over the pork until the meat is covered. Periodically check on pork by poking it with a fork. Once it is done (like falling apart done) remove pork from the roaster and place on a platter. Proceed to pull/shred the pork with a fork in each hand. Scoop pork into ziplock freezer bags. We did 3 cups per bag. Freeze pork.

Preparation Instructions:

Thaw pork. Best way is to pull it out of the freezer the night before and put it in the refrigerator. Add your barbeque sauce of choice to the pork (once it is thawed) and thoroughly mix. Microwave on high 2-4 minutes until heated through. Serve on buns!

Read more about our freezer cooking day here.

Tuesday, October 4, 2011

Chicken Enchilades

Freezer Cooking Recipe

This recipe will make 12 meals - If you have 4 people cooking that makes 3 meals per family

Adjust the quantities accordingly if you have less people cooking.


Chicken Enchiladas

-2 Cans Members Mark 50oz Chicken Breast – (Sams)

-12 onions small

-12 garlic cloves

-1 gallon Salsa – Ortega Medium (Sams)

-5 ½ packages of Cream Cheese (Meijer or Sams)

-Ground Cumin

-12 cups of Cheese (1 Colby Jack Shredded, Bakers & Chef Brand, Sams)

-120 flour tortillas


Saute onions and garlic in two large skillets. Add the cumin, cream cheese, half of the gallon of salsa, and canned chicken. Mix everything together over medium heat until combined. Scoop a spoonful of chicken mixture into the middle of a tortilla shell. Sprinkle shredded cheddar cheese over the mixture and roll up the tortilla. Place 8-10 rolled up tortillas in a 9 x 13 (disposable) baking dish. Cover baking dish with 2 sheets of aluminum foil and attach baking and thawing instructions to the foiled lid. Place in the freezer or refrigerator until ready to take home!

Divide up the remaining salsa in Ziploc bags and do the same with the cheese. You can freeze both of these. You will use them on baking day.

Baking Instructions:

Thaw in refrigerator overnight. Cover enchiladas with salsa and shredded cheddar cheese and bake in a preheated oven for 30 minutes at 350 degrees.


Wednesday, September 21, 2011

Quick and Easy Pizza Recipe


Ingredients:

2 Flour Tortilla Shells
leftover spaghetti sauce
shredded cheese
various pizza toppings

Directions: Preheat oven to 425 degrees. Lay tortillas on baking sheet. Spread spaghetti sauce over flour tortillas. Sprinkle with shredded cheese. If your kids or you like toppings get creative and cover with toppings. Self explanatory right? Bake for 5 minutes or until the cheese bubbles along the edge.


This is my go to recipe when Luke requests pizza for lunch. I like it because I usually have all of the ingredients on hand. When I use a jar of spaghetti sauce I usually do not use the whole thing and there is a little left in the jar in the fridge. Also, I just use whatever cheese I have on hand. Sometimes it is shredded and sometimes not. Sometimes I only have mozzarella string cheese so I just string that up and lay the strings over the sauce. My kids like it because the little pizzas look like the real thing! They love them!

Friday, September 16, 2011

Freezer Cooking

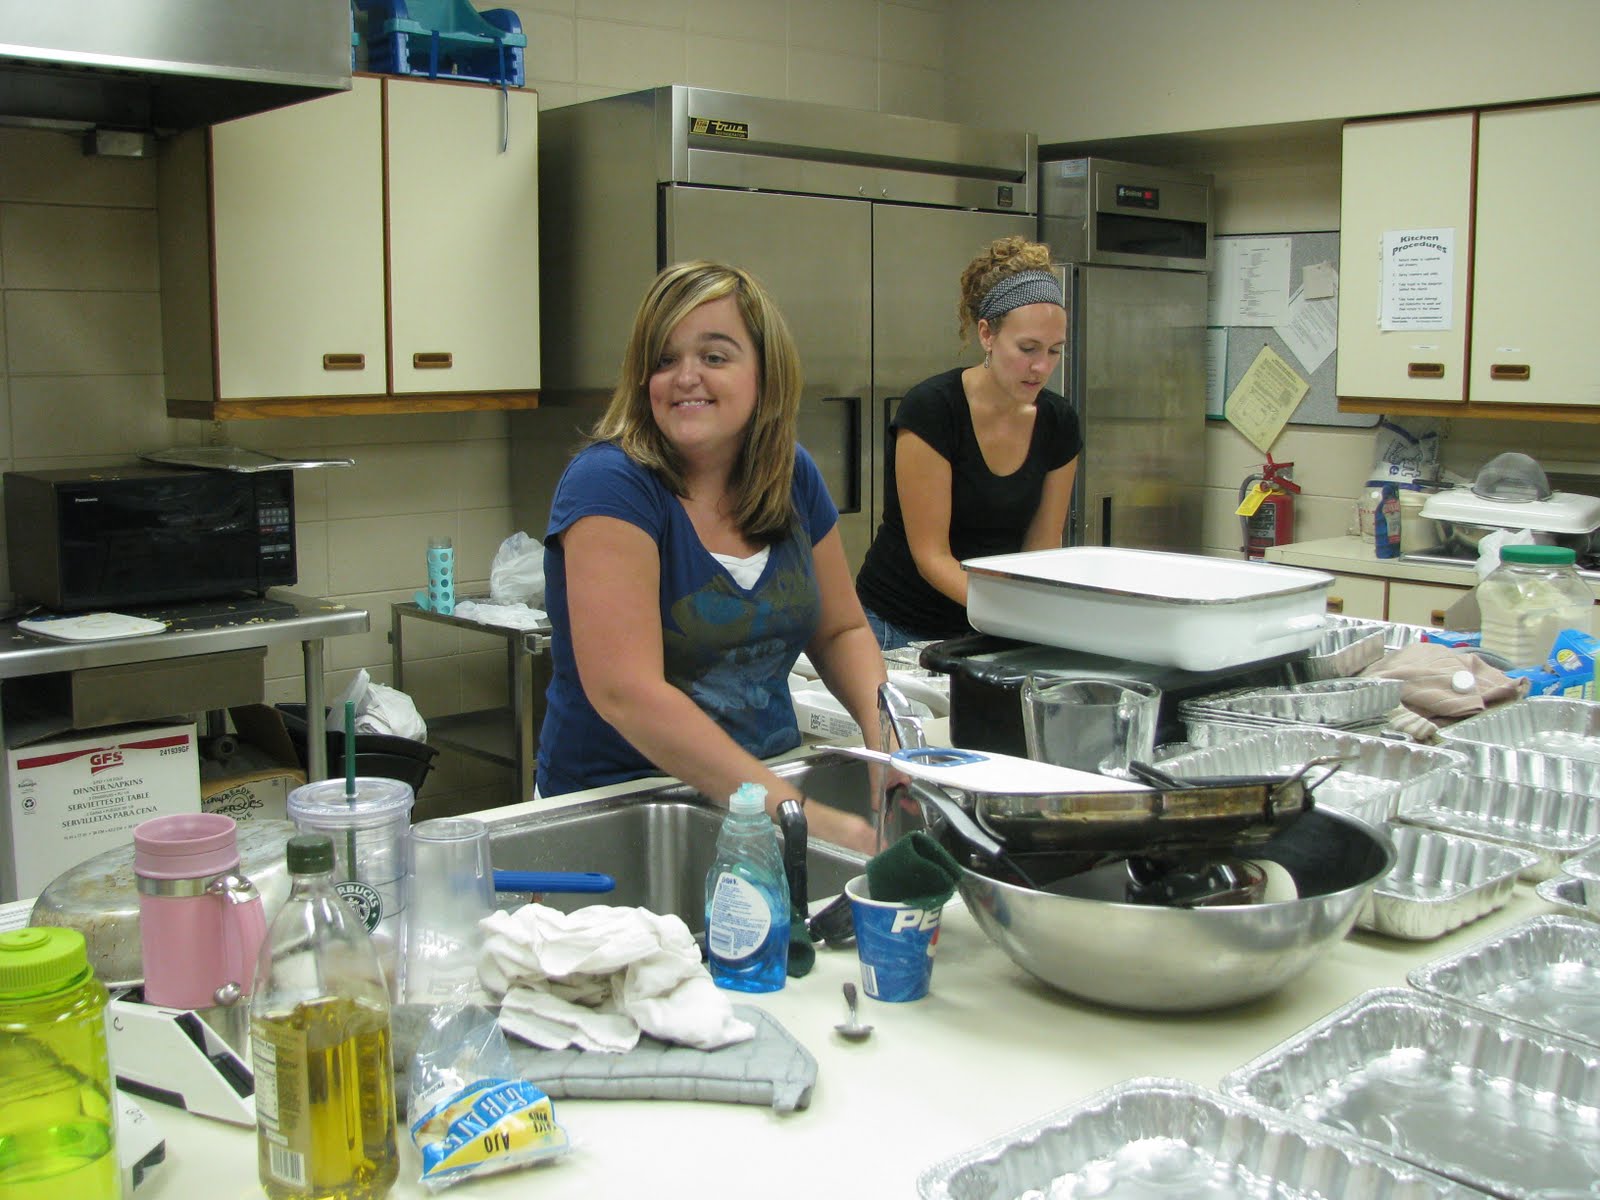
Last Saturday, while most of the locals were enjoying the Grabill Fair, I and 3 other industrious/adventurous moms were inside the church cooking up a storm...

For 9 hours!

9 hours of work=96 meals x 4 hungry families = 24 meals per family

How did we get there you ask?


I will preface this story by saying that we think that NEXT TIME it will not take as long!

The original plan had us starting at 9:30 AM. Well, that was before we realized that the parade path for the fair was set commence directly outside the front entrance of the church! As I was pulling into the parking lot the road I had just driven on was being shut down. This prevented Sarah from getting to the church. She had to park as close as possible, load up her stroller with meat and supplies, and then walk to the church!

Carrie and I scooping pasta into baking dishes.
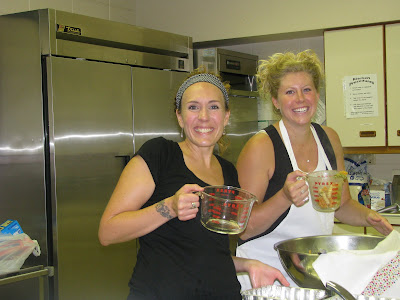

So while we were waiting for Sarah, we started the pulled pork in the roasters. A big part of the reason that we used the church kitchen was so that we could use the big roasters, pots/pans etc. Once we got the pork started we immediatley blew a fuse in the outlet that all 3 roasters were plugged into and we didn't know it! Ahhhhhhh....not until 2 hours later. Whoops! Luckily the janitor popped in every once in a while and helped us out a ton. He showed Becky how to flip the fix the fuse, brought us a big trash bin, and even took the massive amounts of trash out to the dumpster! What a great guy!

Becky, our happy meat mixer/chicken wrangler!

We each took on different jobs as the day progressed. All of us took turns washing dishes and putting utensils away. About halfway through the day we decided that 4 was the perfect number for this task. The logistics for purchasing and transporting all of the supplies/ingredients for a task this size is quite large. We were busy the entire time. We all always had something to do and we liked it that way! Then, once the meals are assembled, you have to store them until the end of the day. The industrial sized refiderator and freezer at the church working perfectly! I really don't know how we could have done this at one of our houses? Maybe if you just had 2 people working?


Our list of meals:

chicken enchiladas
broccoli cheddar soup
meatloaf
cheesy chicken and biscuits
white chicken chili
calzones
baked pasta with meat sauce
pulled pork


The chicken enchiladas

White Chicken Chili


Cheesy Chicken and Biscuits served with a green salad

A picture of how our dishes were assembled.

The bread dough that we used to make the calzones! It had risen. It had risen indeed!

Sarah taking a turn washing dishes. Everyone looks so happy!

Becky cleaning the floor! Isn't she beautiful?

All 96 meals divided up per family and ready to load! That's a lot of work but oh so worth it!

If you think that is crazy, brace yourself, we already have plans to do this again in October!

As the day progressed we decided that we would be MORE motivated to use the meals at home if we already had the next cooking day set up and on the calender. That way we would eat and enjoy our precious meals knowing that more were to come. Plus we just learned so much from our experiences that day and we took notations along the way. That way our shopping list can be more precise. We did overbuy on a few items and doing a cooking like this one soon will help us to use up those extra ingredients that we already have purchased and bring down the cost of each meal.

After dividing up all of the ingredients we each contributed $153.00.
Not bad for 24 meals. That's almost a months worth of meals! We also hope to further refine our process after collecting feedback from each family on what meals we like and want to try again!

Overall a fun and productive day! Now don't you want to try it? I admit is has been WONDERFUL all this week to know I have quite the selection of meals to choose from. How easy is it to put a meal in the fridge in the morning and then preheating the oven before dinner?

Totally easy!

Tuesday, May 3, 2011

Hashbrown Casserole


I am so thankful for my recipe box of recipes that were supplied to me at one of my wedding showers! Each guest brought a recipe to put in my box. I have tried almost every one! This one is from my cousin Sara Sparks.

Hash Brown Casserole is one of those recipes that literally everybody LOVES! This is a hit at carry-ins and family gatherings. Two words: COMFORT FOOD

Ingredients:

2 lb. bag of hash browns (cubed or shredded) thawed
1 can cream of chicken soup (or make your own)
1/2 cup butter or margarine
1 tsp. salt
1/4 tsp. pepper
2 tsp. minced onion
1 pt. sour cream
2 cups grated cheddar

Mix together all of the ingredients except the hash browns in a large mixing bowl. Add the thawed hash browns and fold the potatoes into the mix.

Bake in a greased 9 1/2 x 11 baking dish at 350 degrees for a least an hour.

Let stand for 10 minutes before serving.

Make this for your man...boys LOVE potatoes! It's all American.

Cream of Chicken Soup Recipe


A flavorful condensed cream of chicken soup base recipe for use in dishes that call for canned creamed soups. This way you can control the amount of sodium and the best part...NO MSG! I just did the math and ONE can of store bought cream of chicken soup has 2,175 mg of sodium!! Yikes and double yikes!

Make a double batch and freeze the extra for ease in future recipes.

This recipe makes about 3 cups = 2 cans

Ingredients:

1 1/2 cups chicken broth (preferably homemade so that you control the sodium and MSG)
1/2 teaspoon poultry seasoning
1/4 teaspoon onion powder (or diced onions boiled with broth for a few minutes)
1 clove of minced garlic
1/8 teaspoon black pepper
1/4 teaspoon salt (or less; taste to test)
1/4 teaspoon parsley
dash of paprika
1 1/2 cups milk
3/4 cup flour

Instructions:

1. In medium-sized saucepan, boil chicken broth, 1/2 cup of the milk, and the seasonings for a minute or two (longer if using fresh onions or garlic).

2. In a bowl, whisk together the remaining 1 cup of milk and flour. Add to boiling mixture and continue whisking briskly until mixture boils and thickens.


Use in recipes that call for cream of chicken soup and freeze the rest!

Thursday, April 14, 2011

Easy Granola Recipe

I think that all granola recipes are easy but this one has few ingredients and for some reason that makes life so much easier for me! I like recipes that I already have all the ingredients for in my pantry. I am more likely to make it if that is the case.


So here we go: Gather your ingredients.


Crush 1 cup of nuts (I like walnuts or almonds) and dump them into your large mixing bowl.


Measure 3 cups of old fashioned oats into the same large mixing bowl.


Measure 1/4 cup of honey, 1/4 cup of butter, 1/2 teaspoon of salt, and 1 1/2 teaspoons of cinnamon.


Pour butter/honey/spices mixture over oats and nuts in the mixing bowl.


Stir oat mixture with spoon until thoroughly coated.

Pour granola into baking dish.


Place baking dish into the oven at 275 degrees for 1 hour. Stir mixture every 15 minutes.


After an hour in the oven remove baking pan and add 2/3 cup of raisins and stir. Leave the granola in the dish to cool. (or scoop out some and eat it with a little milk right now. YUM)


Store granola in an airtight container. Yes, that is a repurposed plastic mayonnaise container. Phil said "Why are you photographing granola in a used mayonnaise jar?" He knows me too well to ask that! And we both had a good laugh.


Easy Granola Recipe:

1/4 cup butter (or use equal parts butter and extra virgin olive oil)
1/4 cup honey
1 1/2 teaspoon of cinnamon
1/2 teaspoon of salt
3 cups Old Fashioned Oats
1 cup of crushed walnuts or almonds
(optional additional ingredients: 1 cup of coconut or 2 tablespoons of flax)
2/3 cup raisins

Preheat oven to 275 degrees. Mix ingredients into large bowl (except for the raisins) and pour into baking dish. Bake in the over for 1 hour, stirring every 15 minutes. After an hour remove from heat and stir in the raisins and let cool! Store in airtight container.

The reason why I wanted to started making granola is first of all because my 3 year old LOVES granola and all things breakfast. It is his most favorite meal of the day and requests it for all three meals. He also really likes breakfast cereal which is a heavily processed food that I am trying to get our family to stay away from. Have you heard before that 1 in 3 Americans born after 2000 will contact early onset diabetes? That really scares me because this includes ALL of my current and future children. That is a crazy HUGE amount and affects all my friends children and my nieces and nephews. If I have learned anything in watching "The Biggest Loser" I take comfort in knowing that early onset diabetes can be avoided.

I stumble over great blogs all the time and I recently found one called "100 Days of Real Food" It is a family that started a blog to follow their experiment of eating all real foods for 100 days and blogging about it. This blog has a lot of good information about what how to distinguish between real food and processed food. I want to give you the link to their "rule" page and also just encourage you to browse around on their blog and glean knowledge.

Wednesday, February 2, 2011

Heart Calzone Recipe


Make your own heart shaped calzone for Valentine's Day or any day!


It is easy!

Gather your ingredients:

crescent rolls
deli meat
swiss cheese
2 T. Dijon mustard
1/4 cup mayonnaise


Preheat oven to 375 degrees.

Separate presliced crescent rolls.


Flatten half of the dough on your baking pan.


Cut out the top corner of the dough to make a heart shape and use the extra to make the round parts of the heart and flatten.


Mix the Dijon mustard and mayonnaise.


Spread the mustard mixture over your heart of dough.


Now layer it like a sandwich. First the deli meat.


Then layer the swiss cheese.


Form an identical heart in size and shape out of the remaining dough.


Place the 2nd dough heart over the first heart. Pinch the dough along the sides and pinch close any other opening.


Put in your preheated oven for 20 minutes if you have a baking stone or 14 minutes for a regular pan.


Or until golden brown.


Voile!


A sure way to make someone feel special!


My family can eat an entire heart in one sitting.


Wouldn't this be a fun addition to breakfast, lunch, or an after school snack for the kiddies?

Monday, January 17, 2011

Drying Herbs Can Be Frugal and Easy

This summer I watched an old Martha Stewart episode. She was drying herbs with the greatest of ease. I was floored with how easy it really is. I mean she has a knack for making anything look easy but this really is easy!


You can use herbs from the store or your own homegrown herbs.


Rinse all of your herbs and pat dry with a towel. Lay them in a single layer on a baking sheet and preheat oven to 200 degrees.


Place the baking sheet in the oven until herbs are dry and crumbly to touch. I left these in about 40 minutes. You will have to adjust this according to your herbs/baking sheet etc.


Did I mention that rosemary is one of my favorite smells? Yes, I love the smell of rosemary baking!


When it is thoroughly dry, start to crumble the leaves with your fingers. The herbs will literally fall apart at your touch.


Crunch the leaves into a pile and throw away the stems.


Store your newly dried herbs in an airtight container. I keep mine in repurposed baby food jars.


I love rosemary on my eggs in the morning.


So easy and rewarding!

Related Posts Plugin for WordPress, Blogger...